Luma View App
Download the  Luma View app for free from the Apple App or Google Play Store.
View all release notes for the Luma View App.
Logging in for the first time using OvrC Connect
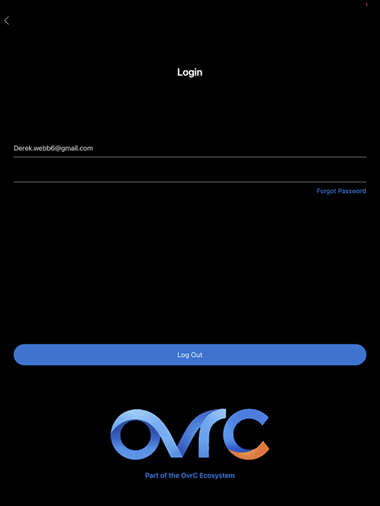
When you open the Luma View app for the first time you will be prompted to log in to your OvrC Connect account. You can only log in to the Luma View app using OvrC Connect credentials.
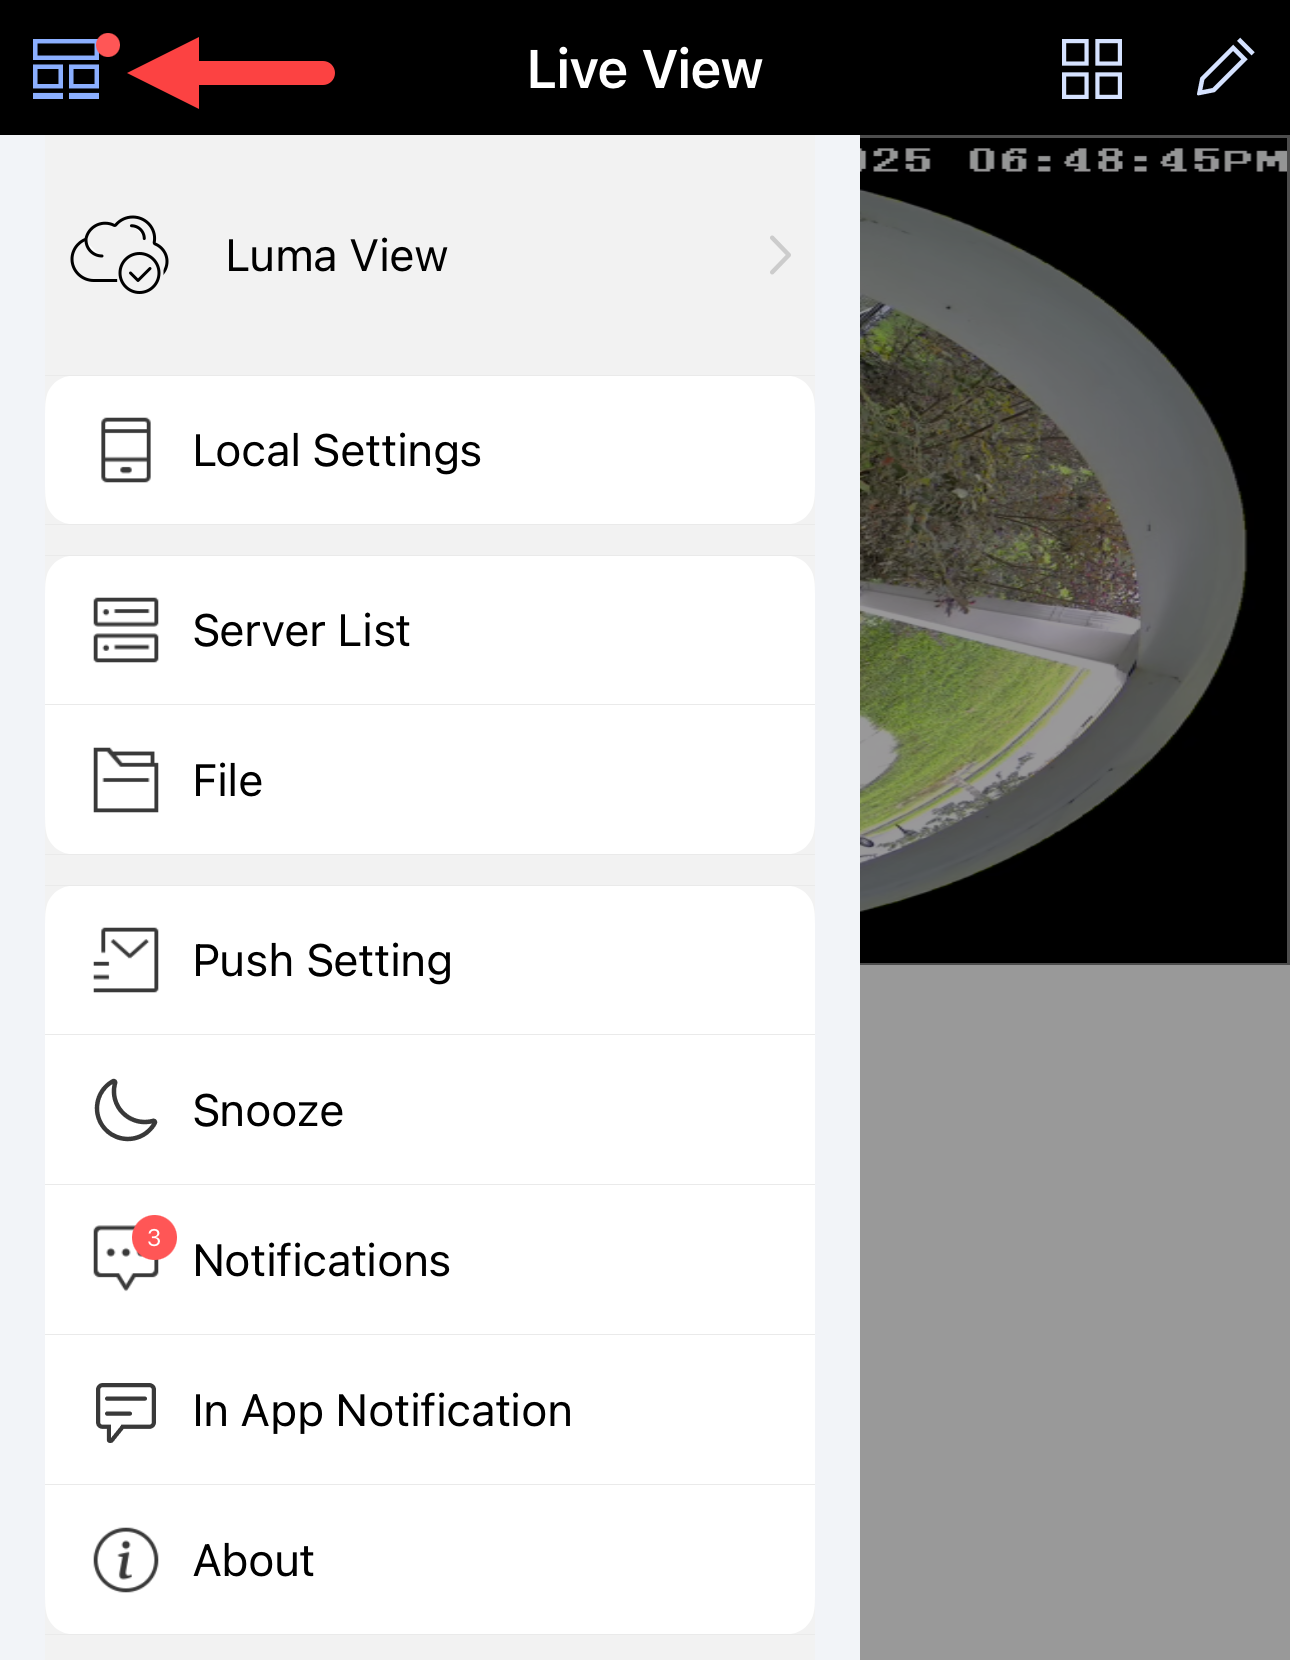
Main menu for Luma View
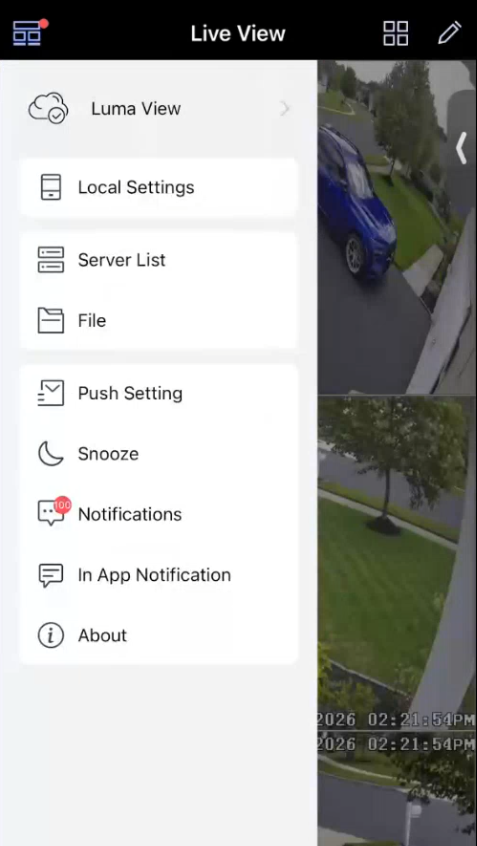
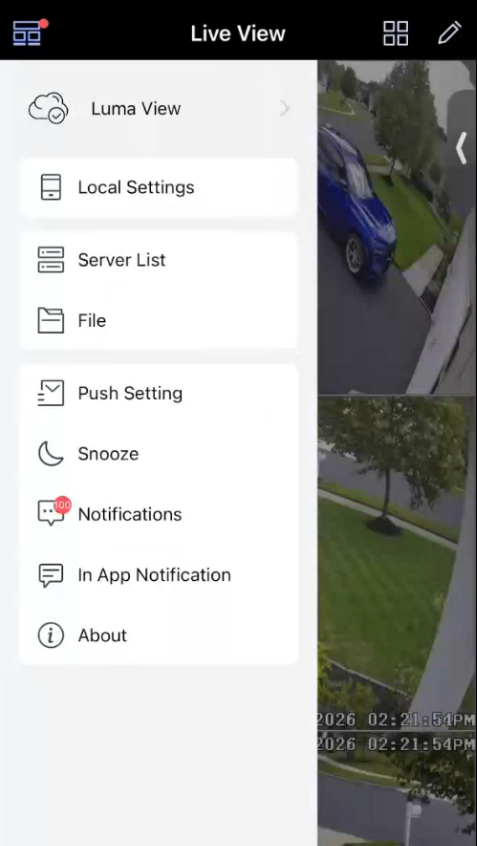
Selecting the top left icon from Live slides out the main menu.
-
Luma View – This opens your login for OvrC Connect.
-
Local – This menu provides settings that are unique to your mobile device’s experience with Luma View.
-
Server list – Opens the Server list of all available Luma x20 devices.
-
File – Opens the file explorer of saved snapshots and videos from the Luma View App. You can save and share from this section.
-
Push setting – View the push notification status for all of your Luma x20 NVRs.
-
Notifications – Shows the last 99 push notifications that your Luma View app has received.
-
In App Notification - enable or disable
-
About – Shows various information about the Luma View app.
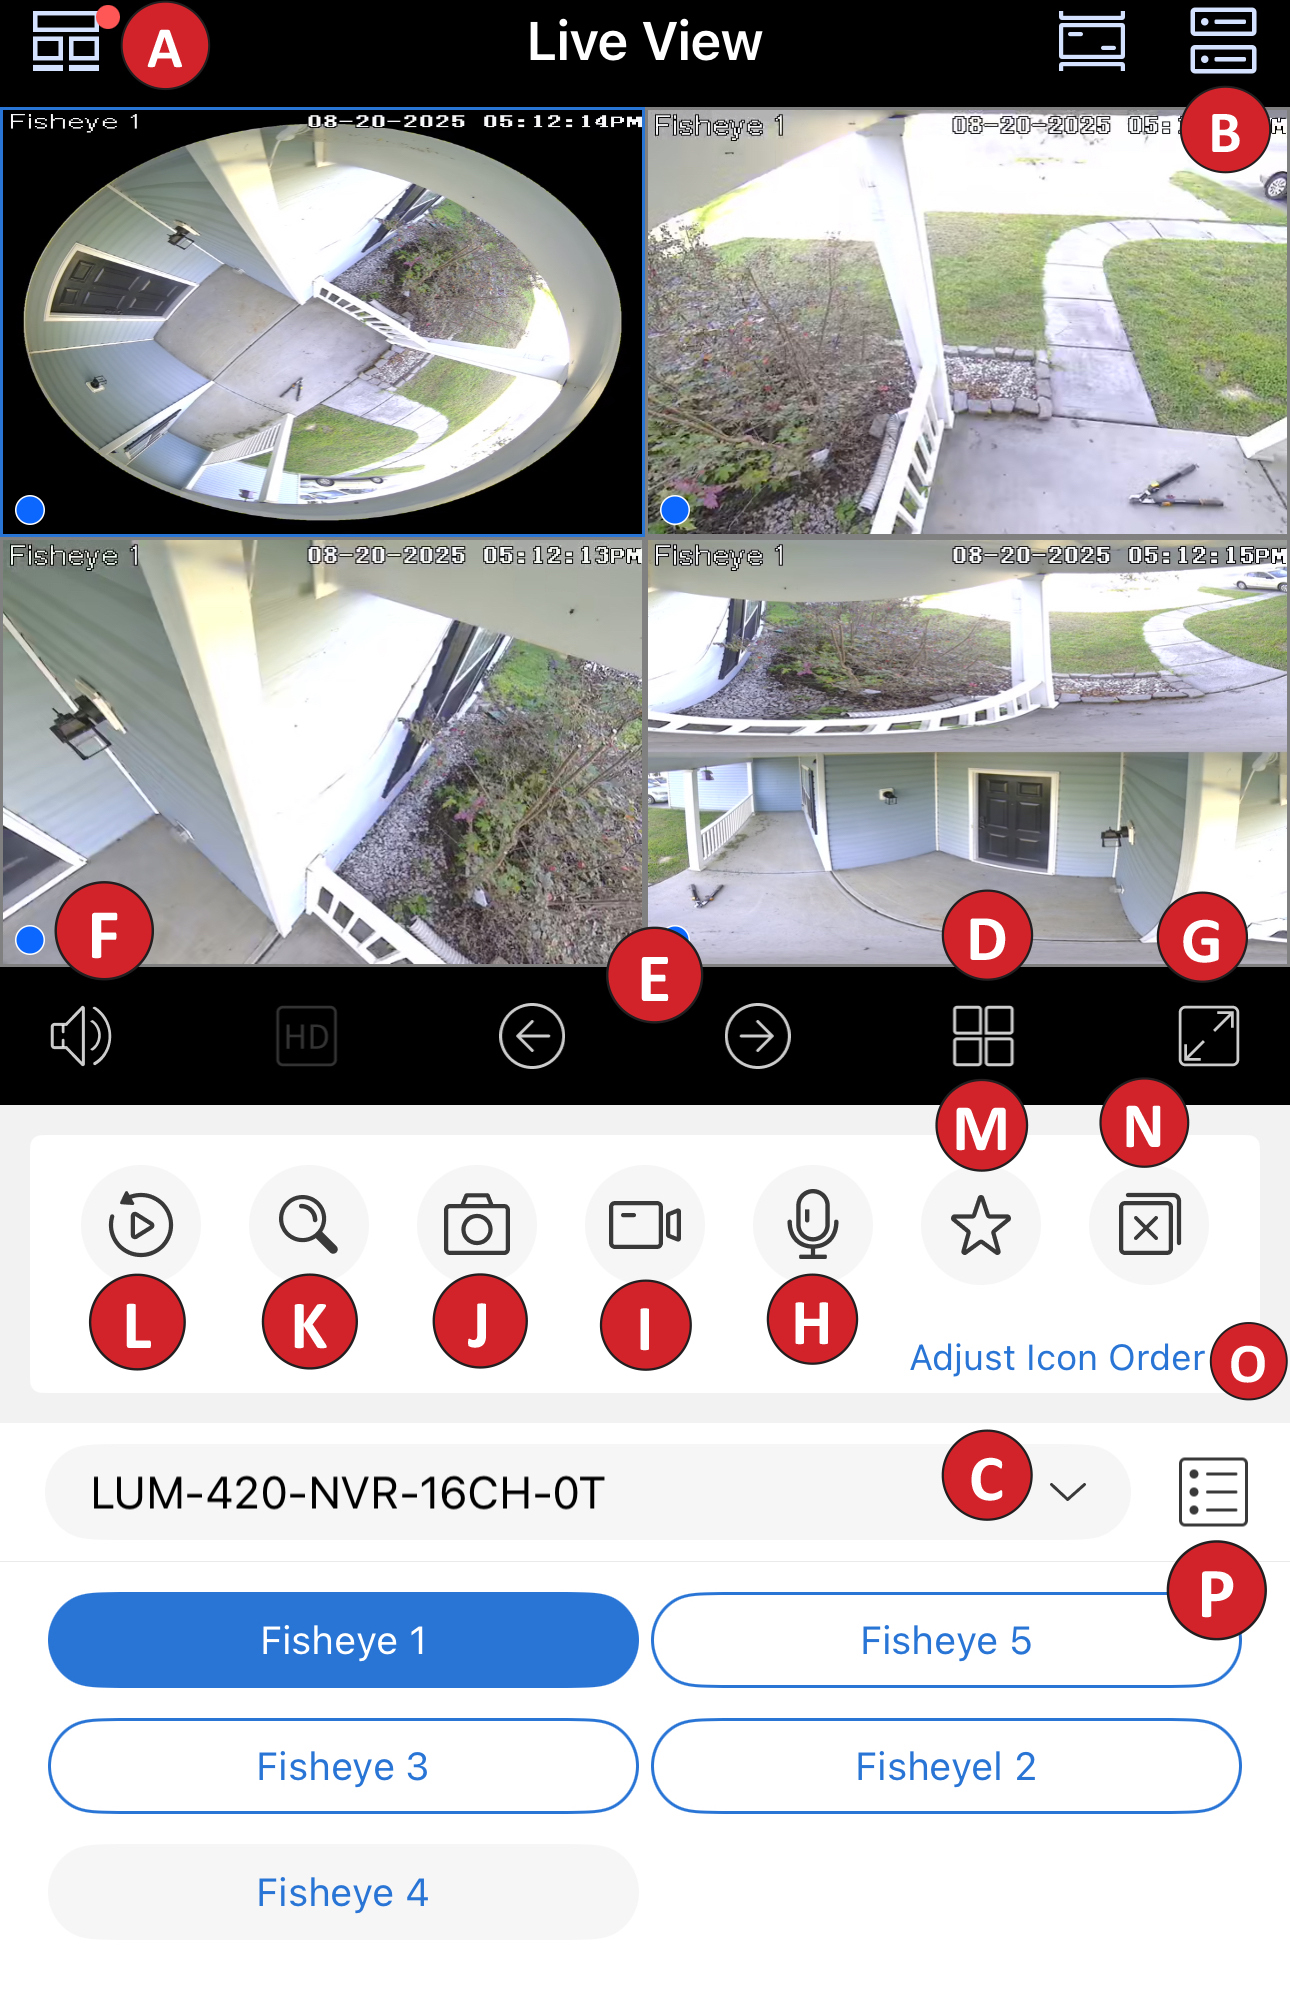
Live View
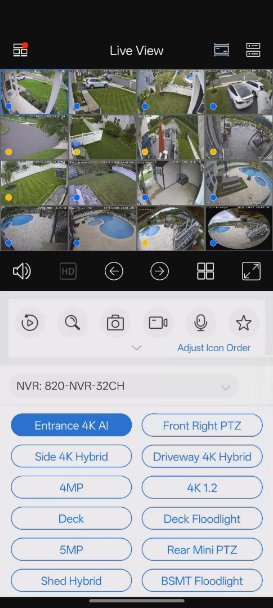
A. Luma View app menu
B. Server list – All devices that are assigned to your OvrC Connect account and their current status.
C. Device list – All available devices for viewing. This includes NVRs and standalone IP cameras.
D. Display mode – Choose different displays that can be shown using the Luma View app.
E. Active channel selector
F. Audio – Open/Close audio if the camera is equipped with a microphone
G. Landscape view - Expand the Luma App to view cameras and menu in Landscape.
H. Two-way talk If you are using Luma View to access the camera directly, this opens communication between the mobile device and that camera. If you are using Luma View to access the camera through the NVR (by selecting an NVR channel), this opens communication between the mobile device and the NVR.
I. Record - manually live footage
J. Snapshot - take a photo of live footage
K. Search by event
L. Playback – Opens the remote playback interface for the camera currently selected.
M. Favorites - save a group of cameras for easy access
N. Close – Close all live channels on the screen
O. Adjust icon order - customize icons on this page
P. Channel display – Change the display of your available channels below
Q. Waterfall View
Multi- Channel View
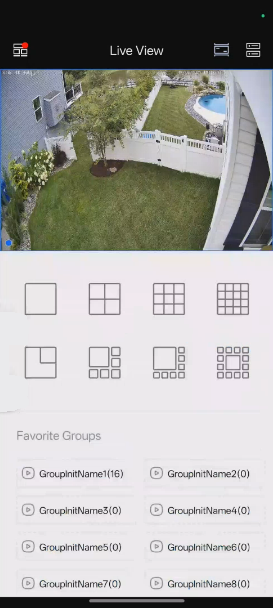
A. Choose which cameras, and how many cameras to view at once (in portrait mode).
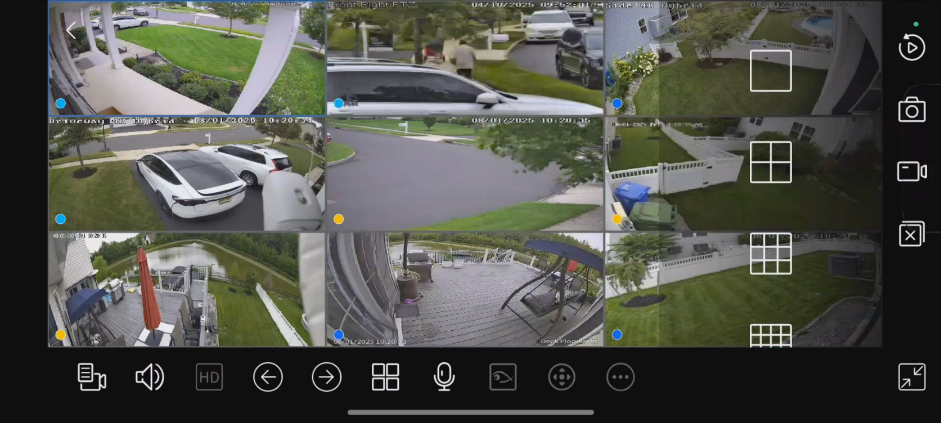
B. Choose which cameras, and how many cameras to view at once (in landscape mode).
Note: Note: Viewing over 9 screens will reduce app performance.
C. Save your favorite views by creating a group.
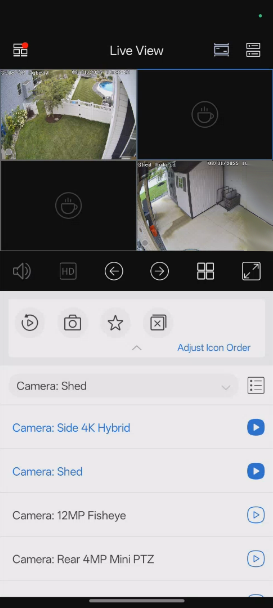
D. Enable and disable the cameras you want to view from a favorite list, on command.
E. Waterfall: Create a scrollable strip view of cameras on command.
A.
B.
C.
D.
E.
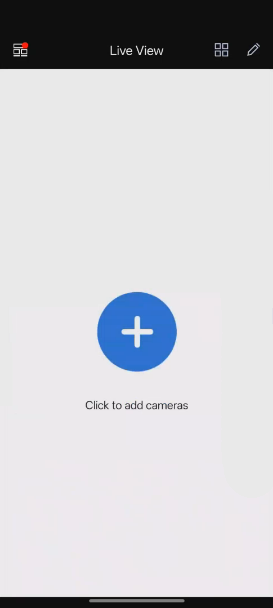
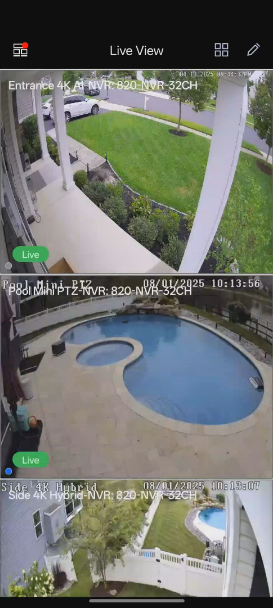
PTZ Control in Waterfall view
Luma PTZ cameras can now be controlled in the Waterfall Live View.
Use the D-pad to control the PTZ
1. Navigate to the Waterfall Live View.
2. Tap once on the PTZ camera to populate the quick menu on the right.
3. Tap on theD-pad from the quick menu.
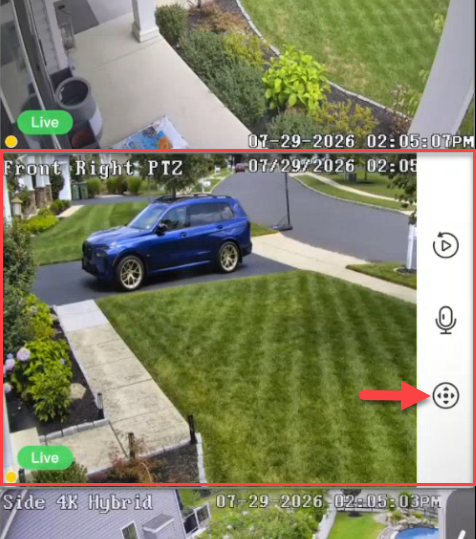
4. Use the D-pad to move and center the camera.
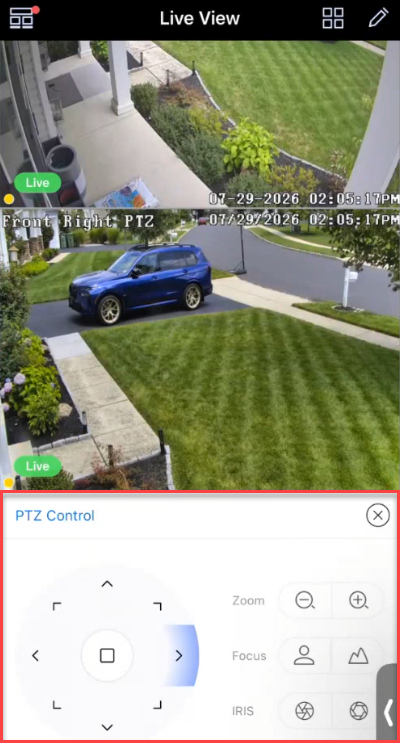 .
.
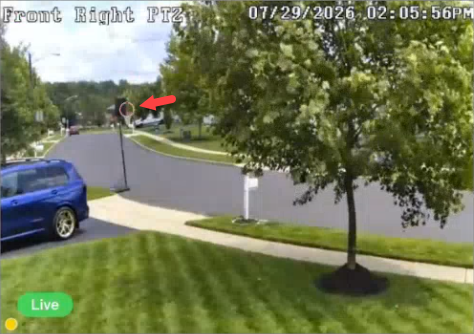
Tap the image to control the PTZ
5. Tap once anywhere on the image to control the PTZ direction.
Note: A red circle populates where you tap. The camera will move and center on that location.
Single Channel View
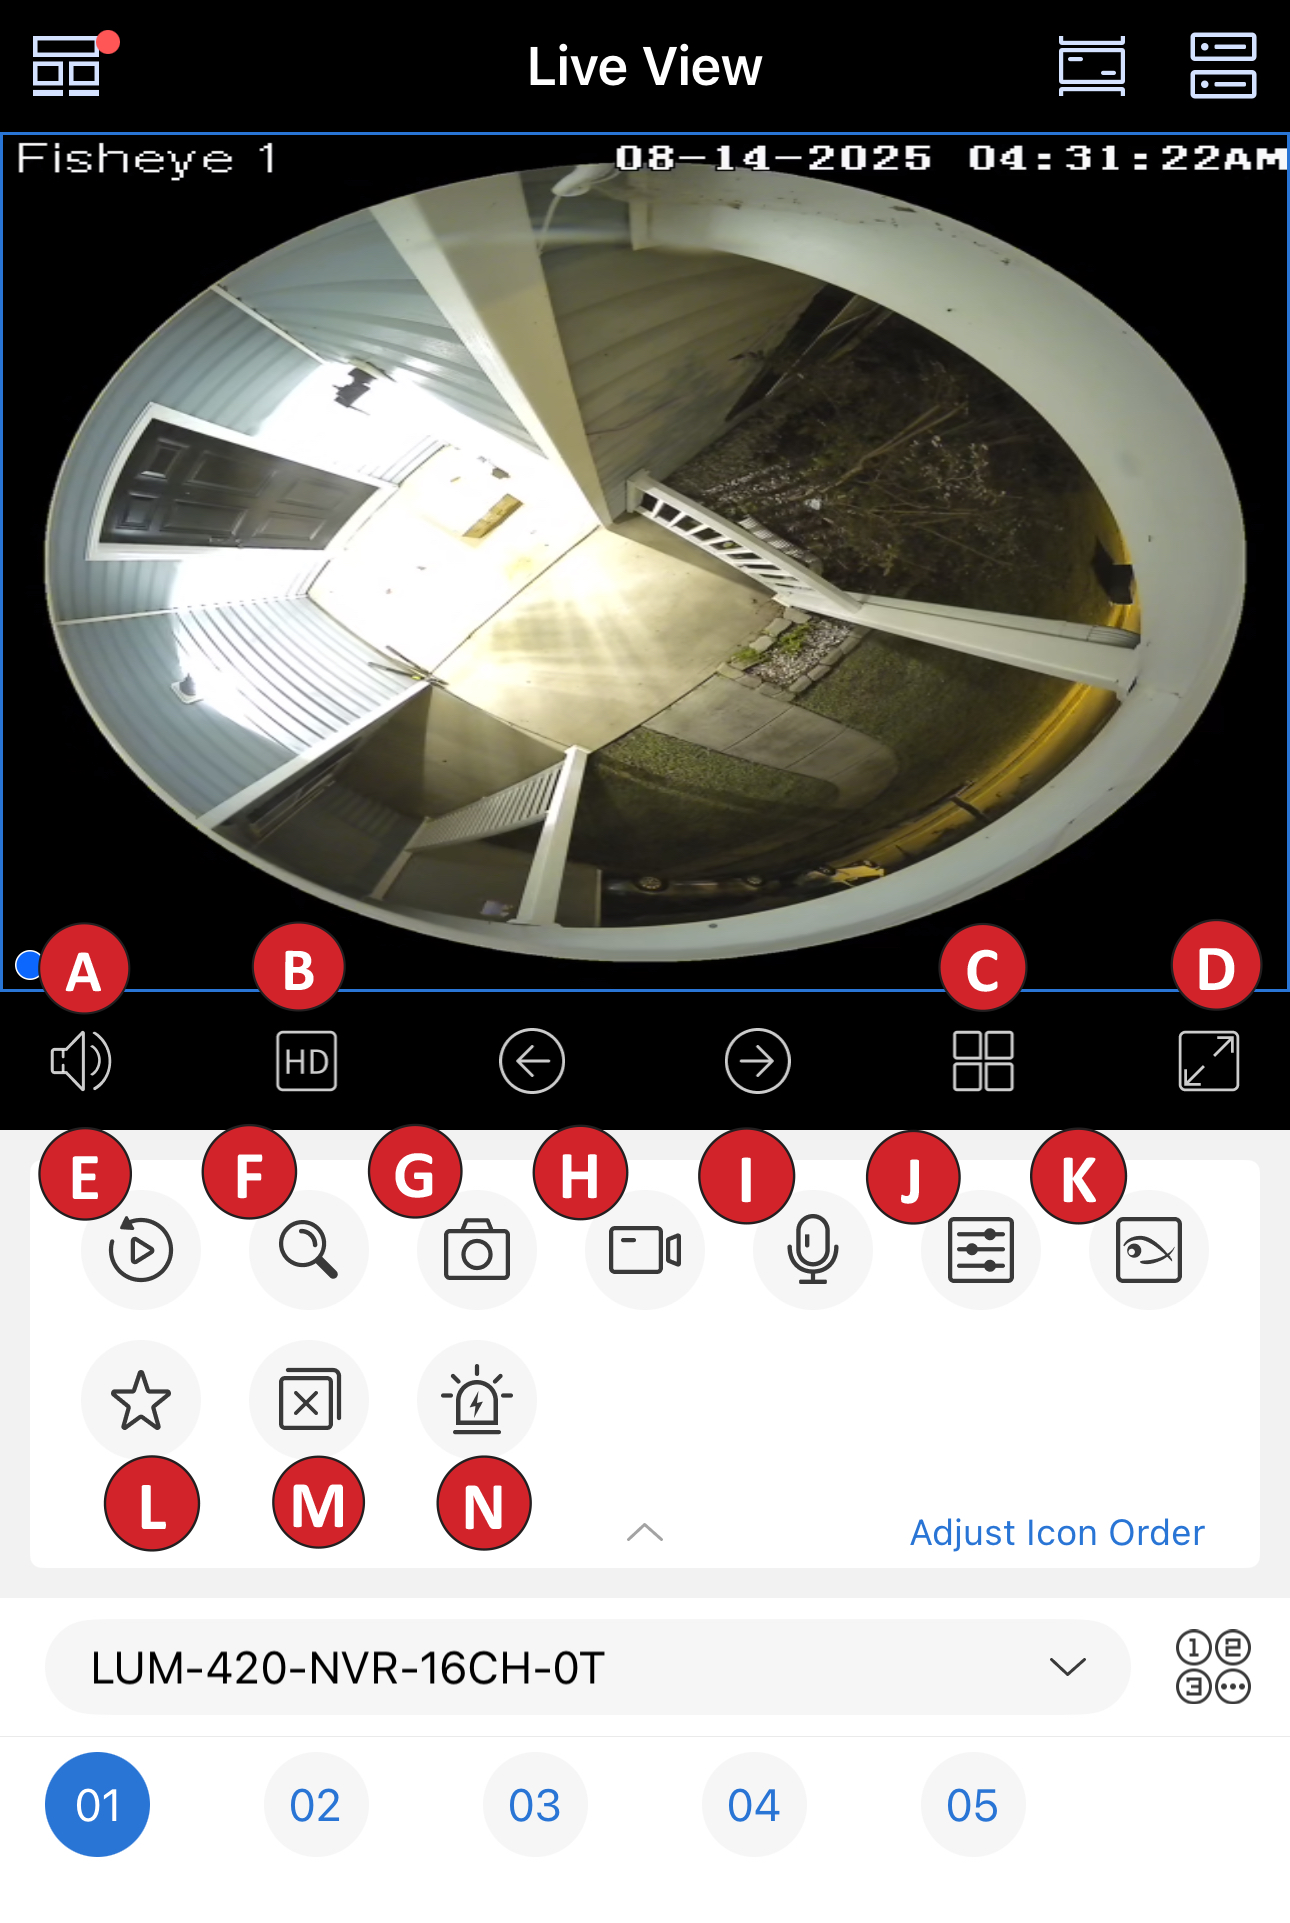
From any multi-camera view, double-tap a camera tile to expand to single camera view. Tap the drop-down menu to see extra icons. Tap Adjust Icon Order to customize icon layout.
A. Camera audio
B. Change the definition of the current image.
C. Display mode
D. Fullscreen.
E. Playback – Opens the remote playback interface for the camera currently selected.
F.Search by event
G.Take a snapshot of the current image to save to your mobile device.
H. Start recording video to save to your mobile device.
I. Two-way talk
-
If you are using Luma View to access the camera directly, this opens communication between the mobile device and that camera.
-
If you are using Luma View to access the camera through the NVR (by selecting an NVR channel), this opens communication between the mobile device and the NVR.
J. Image settings – Adjust brightness, white balance, sharpness, image mirror, and zoom.
K. Perspective (Fisheye camera only)
L. Favorite.
M. Close viewing channels
N. Alarm.
PTZ controls in single-channel view
1. Enter single channel view.
2. Tap the PTZ icon.
3. Tap anywhere in the camera image to center the PTZ on that location.
4. Swipe to pan and tilt the camera.
5. Pinch to zoom (if supported).
6. Use the zoom buttons under the video for precise control.
7. Exit PTZ by tapping the PTZ icon again.
Note: If you have Smart Tracking enabled, this PTZ control does not prevent the camera from returning to its home position.
Playback in Waterfall & Grid view
Playback and microphone can now be accessed directly from the Waterfall Live View or Grid View.
1. Navigate to the Waterfall Live view or Grid view.
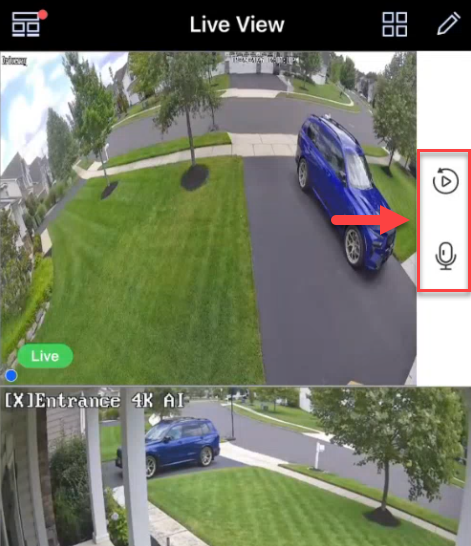
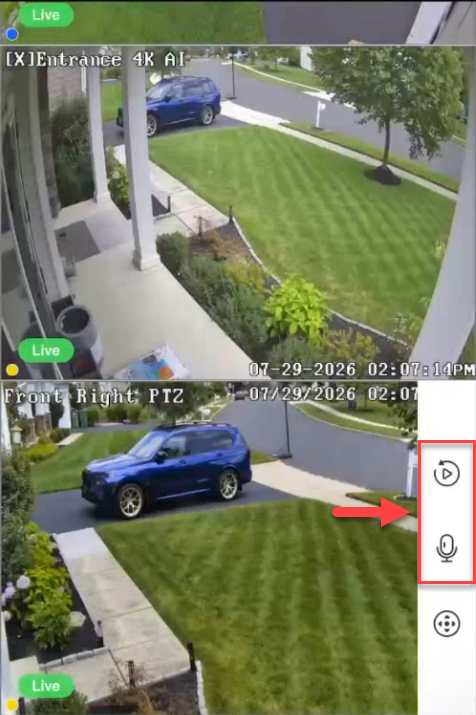
2. Tap once on a camera to populate the quick menu on the right.
Note: Most cameras display two icons in the quick menu. PTZ cameras display three.
3. Tap on the Microphone icon to speak through the camera's speaker. Tap on thePlayback icon to view recordings.
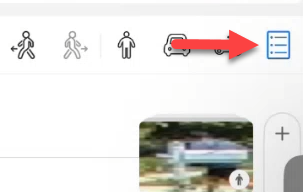
4. Tap on the list icon to open theRecording Type filters.
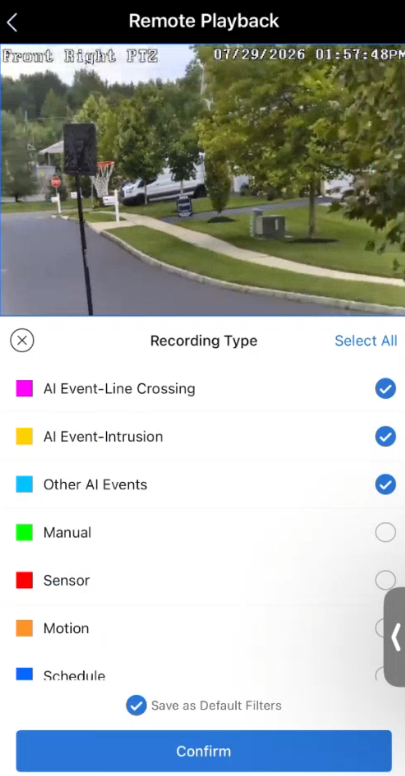
5. Select the Recording Types you want to view.
Note: Deselect the Schedule filter if searching by events. Playback will only begin from the last two minutes of the latest recording if theSchedule filter is selected.
6. Check Save as Default Filters and tap Confirm.
7. Verify the playback begins with the latest event recording.
8. Tap the playback thumbnail image to view an event recording. The thumbnail image is now a magnified snapshot of the event trigger.
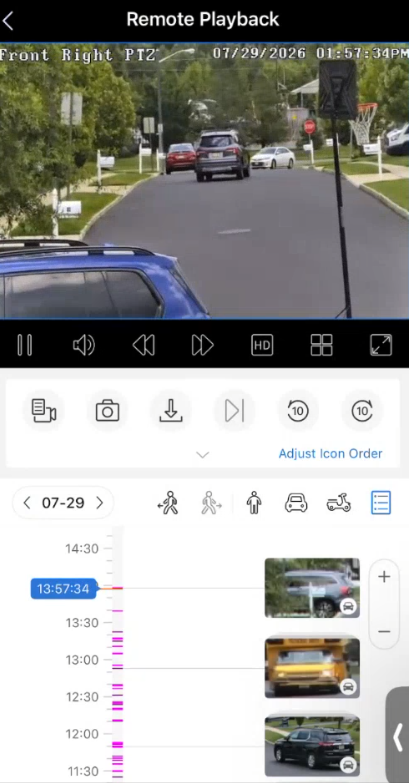
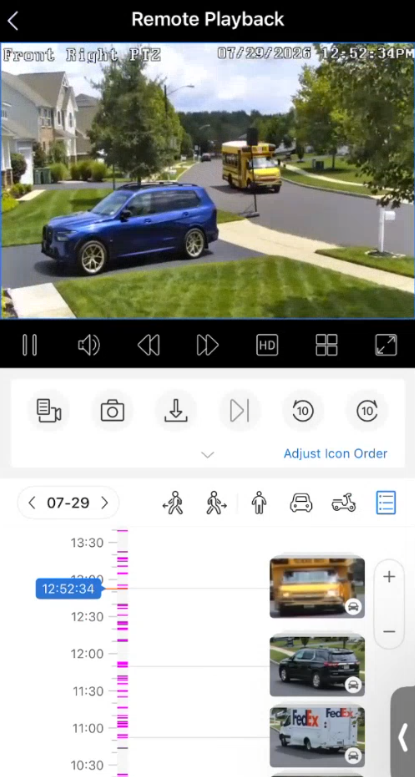
9. Use the playback icons to sift through the list of recordings.
Note: The single human, car, and bicycle icons are only available for the LUM-820-NVR-64CH paired with Luma cameras at this time.
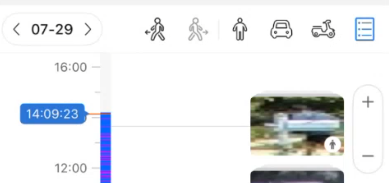
Playback interface
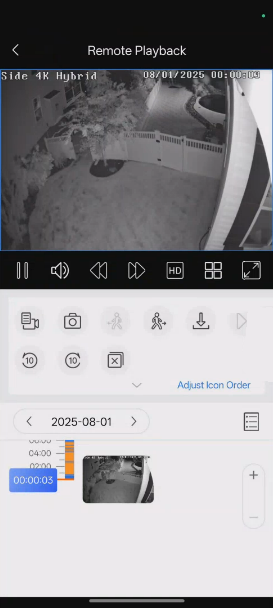
This section of the Luma View app used for playback and archiving of video.
-
Frame-by-frame playback
-
Rewind and Fast Forward
-
Play/Pause
-
Switch between channels for playback
-
Close all channels
-
Select to jump back or forward to the next closest event on the timeline
-
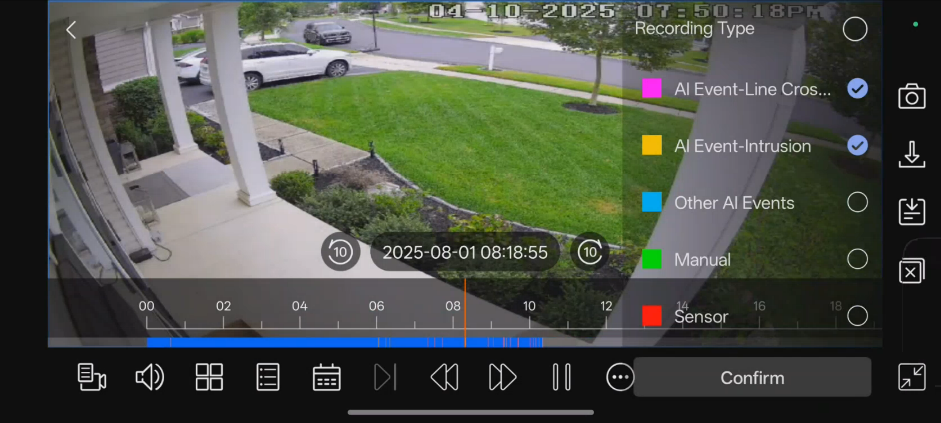
Timeline for event playback. The timeline is color coded for different types of playback or events. Pinch to zoom in on the timeline for more precise playback.
-
 AI event – line crossing
 -
 AI event – intrusion
 -
 Other AI events – exception detection
 -
 Manual recording
 -
 Sensor event
 -
 Motion event playback
 -
 Point of sale (not currently supported on Luma x20)
-
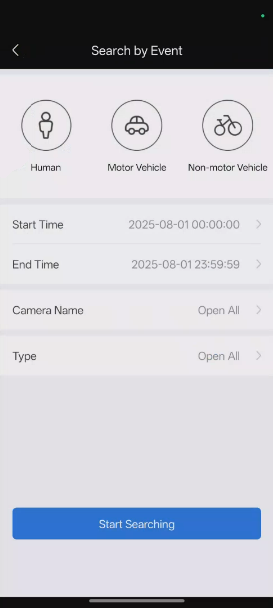
Search by event menu
1. In Playback, tap Event Search.
2. Apply filters: Human, Vehicle, Alarm input, or AI detection.
3. Tap Search. Results are shown in the timeline and event list.
4. Tap an event to jump playback to that recording.
Download the Main Stream from Playback
The Main stream can now be downloaded from Playback.
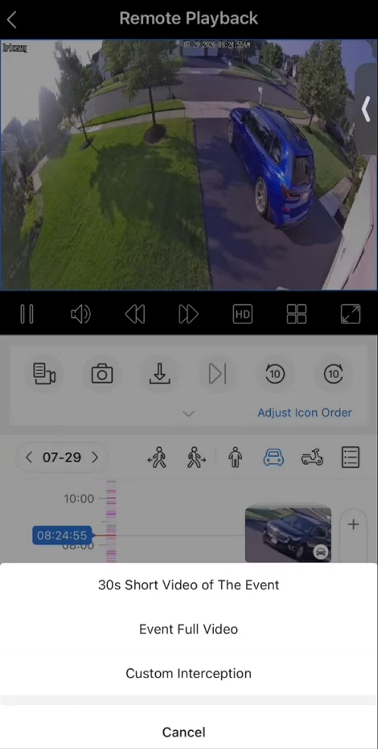
1. Tap on the download arrow icon.
2. Choose to download from the following options:
-
30s Short Video of The Event
-
Event Full Video
-
Custom Interception
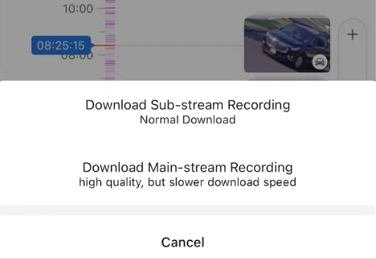
3. Choose Download Main-stream Recording The video will be higher quality, therefore it downloads slower than the Sub-stream option.
4. Navigate back to the main menu and select File.
5. View the downloaded recording in the highest resolution.
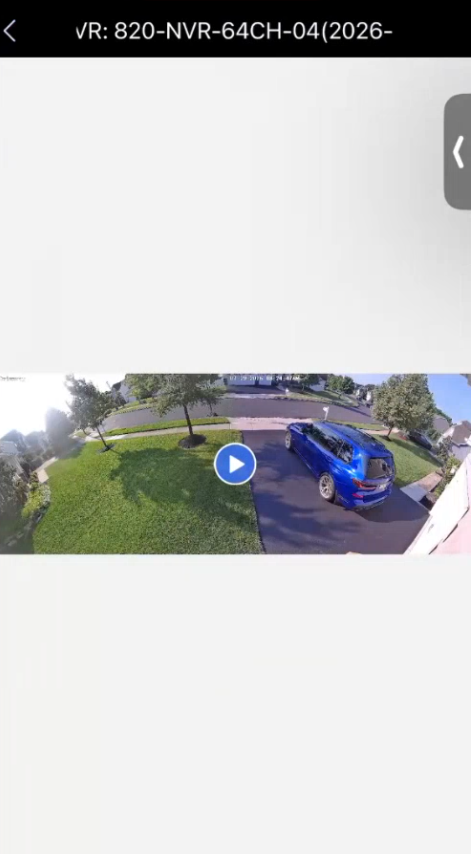
Caution: When using the Luma App for iOS, if there is no video file available for the stream type (Sub-Stream is the default), the app replies "No Record Found." The app does not search through all recordings of the desired channel. Manually change to Main Stream to view the playback on iOS.
Push Notifications
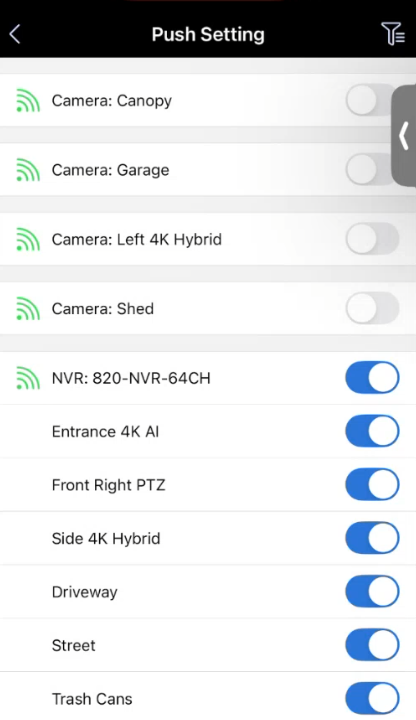
Push notifications can now be customized by individual mobile device and by camera.
1. Navigate back to the main menu and select Notifications.
2. Toggle Push Settings on and off by camera. These changes will remain on the individual phone or tablet currently accessing the app. 0
Snooze
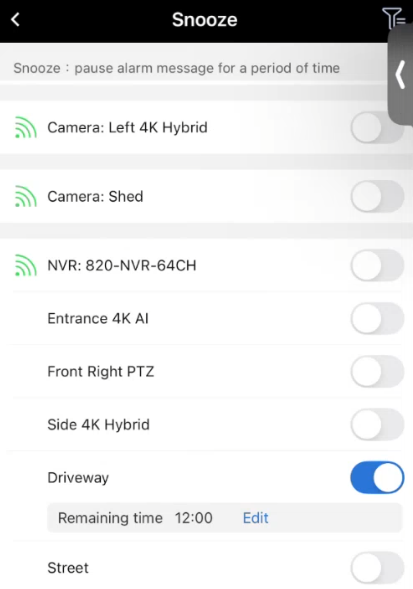
The Snooze feature is now available at the NVR and camera level.
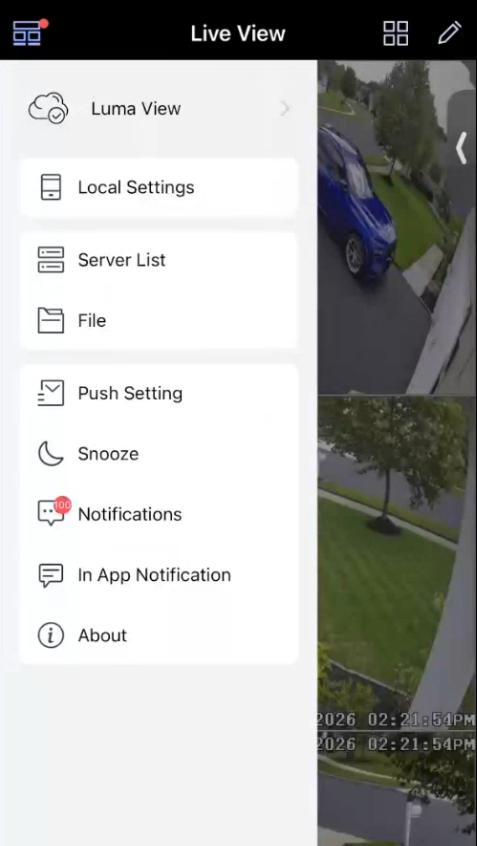
1. Navigate back to the main menu and select Snooze.
2. Toggle Snooze on and set Snooze time by camera or NVR.
Server list
The list of all recorders that OvrC has synced to the Luma View app.
-
Filter – Choose to show only cameras or only NVRs.
-
Connection - If this icon is green, the device is communicating with Luma View. If this icon is gray, and the device shows online in OvrC, log out of Luma View and reload it.
-
Edit – Edit properties of the selected device. The only available option on this screen is Reset Password. This resets the root admin password of the NVR. Other passwords remain intact.
-
Play – Start playback of this device.
-
Basic info – Obtain basic information of this device like firmware version for IP Cameras and some more detailed status information for NVRs.
Local Settings page
-
Receive new notification – Globally turn off notifications from your Luma View app.
-
Playback time of pre-push message (sec) – Set the playback start-time for a push message (event) based on the actual alarm time. For example, when you click on the alarm video playback icon, playback starts 10 seconds before the alarm occurred.
-
Notification – Choose how you would like push notifications to operate on your phone.
-
Resolution adaptive – When enabled, if the image is not smooth, the video automatically switches to a lower resolution.
-
Reserved disk space (MB) – Luma View reserves space on your phone so that it always has room to backup archived footage. Set the reserved space here.
-
Recycle recording – Enable/Disable record cycle. If enabled, the system automatically deletes old recordings and recycles the space if needed.
-
Snap num – Select the number of snapshots to be taken when you click Snapshot in preview or playback.
-
Split snap – When disabled, Luma View takes snapshots of the selected channel only. When enabled, Luma View generates snapshots of all channels in the current layout view. For example, if Split Snap is disabled and you are using 2x2 (4 ) channel layout view with Channel 1 selected, snapshots of Channel 1 will be generated. If Split Snap were enabled, snapshots of all the channels in the layout will be generated.
-
Favorite – Edit your favorites after you have set them.
-
Launch setting – Set to play favorite group, play a specific device, or play last preview channels when you open the app.
-
OSD – Enable or Disable on screen display option pop-up icons.
-
Original scale display video – When enabled, the native video ratio will be used, not fitted to the layout window.
-
PTZ gesture operation prompts – Tapping the PTZ icon in Live view, displays eight directional touch controls. When this setting is disabled, the eight directional touch controls are displayed for only three seconds. When enabled, the eight directional touch controls remain on the screen.
-
PTZ direction reverse control – When enabled, the eight directional PTZ controls are reversed.
Luma 420 & 720 Floodlight camera functions

Released: 23 Aug 2026
Changelog:
-
Added support for Luma 420 and 720 Floodlight cameras.
-
Added light and audio alarm function when using Floodlight camera without an NVR.
-
Restored 3D PTZ Control.
-
Provided other bug fixes and performance improvements.
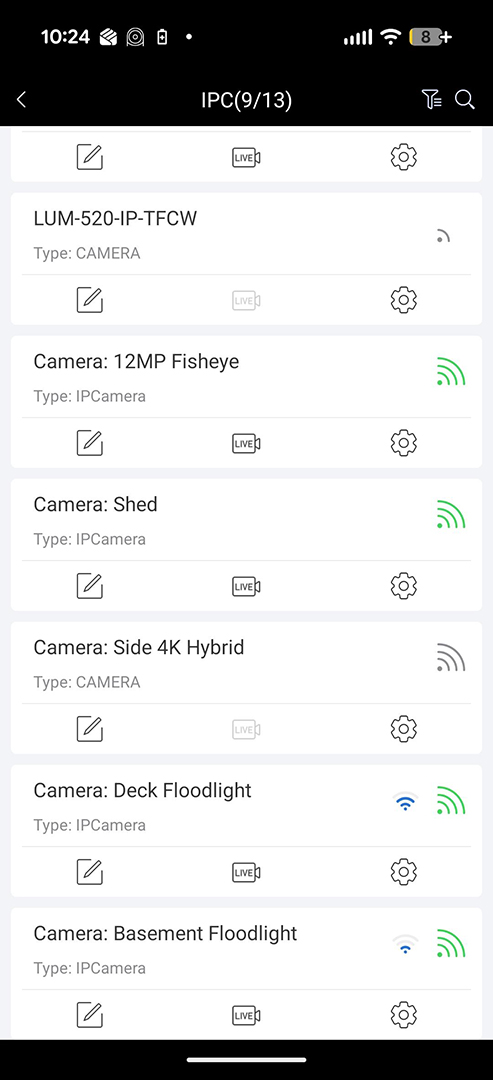
Available Cameras page
Floodlight cameras that are not connected to an NVR should be visible (see the bottom two entries).
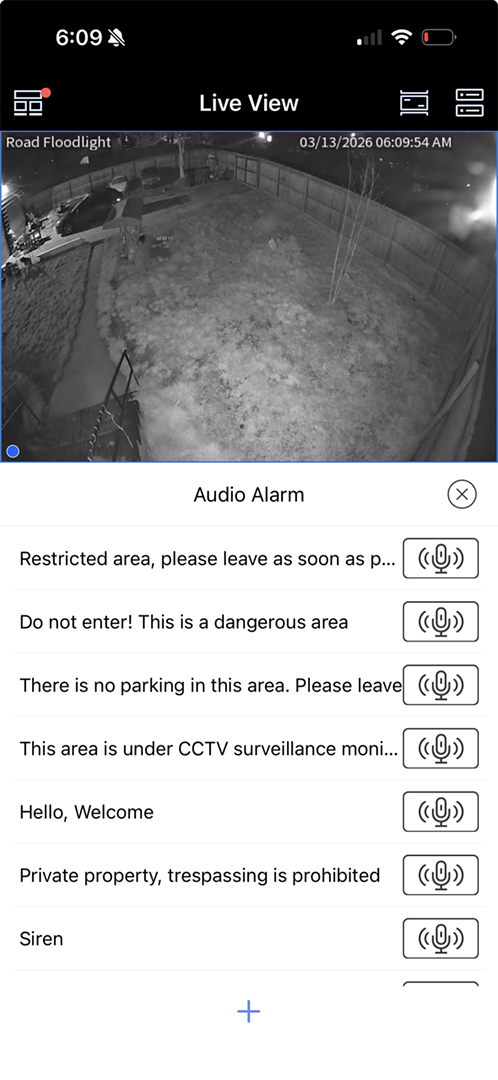
Audio Alarm page
Swipe to scroll the full list of options available.
Click the button to broadcast that audio file to the floodlight camera.
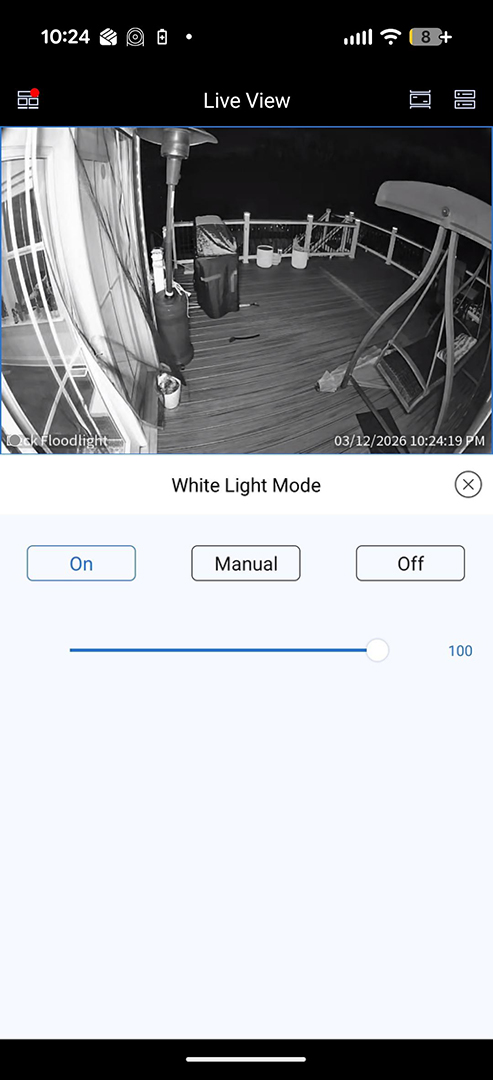
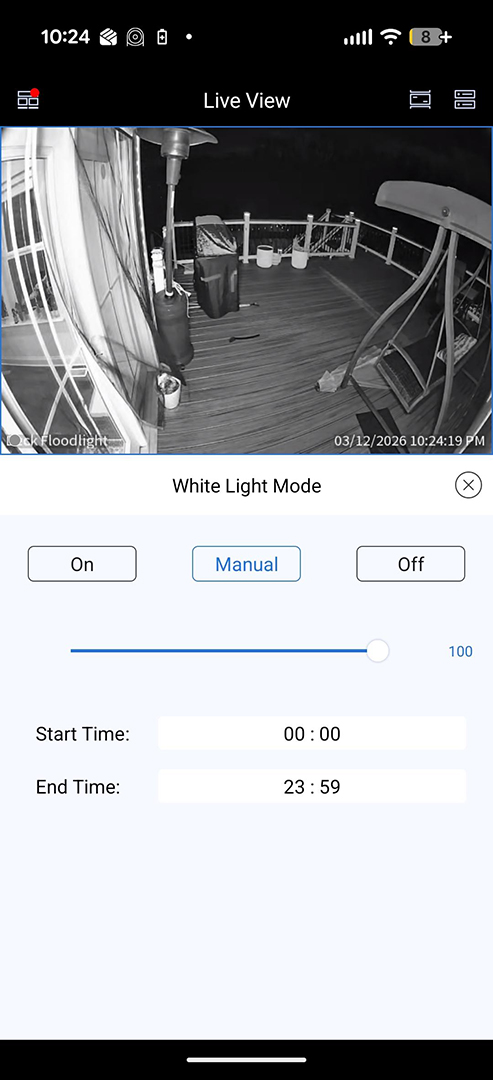
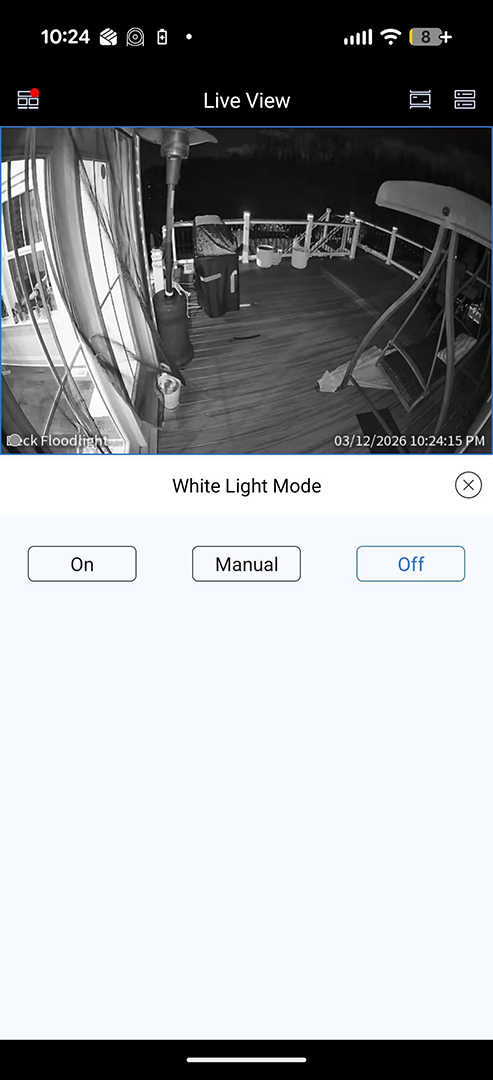
White Light page
Here you set the white light.
When you select Manual, you select the start and end times for when the light is illuminated.
Floodlight Playback page